



Care & how-to
How to Build a Cat Tree (and a DIY Scratching Post)
A DIY cat tree is a heavy base, one or more upright posts wrapped in sisal rope, and platforms at different heights, all screwed together so nothing wobbles. Start with a simple scratching post, add a platform or two, and keep the base wide. Use untreated wood, natural sisal and carpet or fleece, and skip anything with loose string or small parts.
By Matt GarnettUpdated November 14, 20264 min read3 sources
Plan it around your cat
Cornell Feline Health Center describes exactly this kind of project: wood covered with carpet, fabric or sisal, fastened into a multi-level tree with perches, which meets both scratching and climbing needs. Before cutting anything, think about your cat. A young, athletic cat wants height and jumps; an older or heavier cat wants wide, low steps and easy access. If you would rather not build, our wooden cat trees are ready-made, such as this wooden cat condo.
Measure your cat standing on its hind legs with front legs stretched. Cornell recommends that a scratching post be at least that tall, so the main post should be at least 30 inches for most adults. Pick a spot near a window or where the family gathers; VCA suggests placing cat trees in shared living areas.
Materials and tools
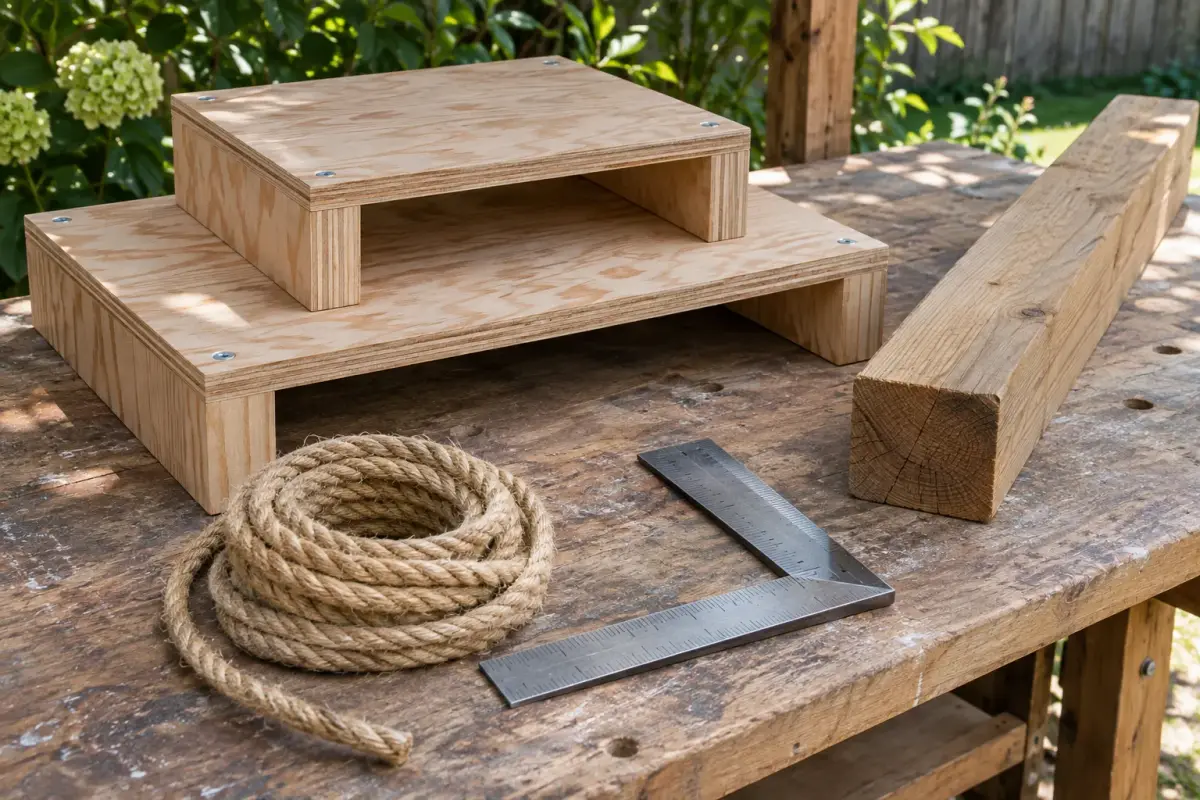
For a simple two-level tree you will need: a base of 3/4-inch plywood at least 24 by 24 inches, two or three posts of 4x4 lumber or thick cardboard tubes, plywood for platforms about 14 by 18 inches, natural untreated sisal rope about 3/8 inch thick, carpet remnants or fleece, heavy-duty L-brackets, wood screws and a non-toxic wood glue. Add a staple gun, drill and saw.
Avoid pressure-treated lumber, particleboard that crumbles, and oiled or dyed ropes. Avoid dangling strings, ribbon and small toys hanging from cords; Cornell warns that string-like parts can be swallowed, and VCA advises never leaving cats unattended with string or rope toys.
Step-by-step: building a two-level tree
Step 1: Cut the base, posts and platforms. Step 2: Wrap the posts with sisal from bottom to top, pushing each turn tight against the last, stapling and gluing at the ends and every few inches. Leave the top few inches of each post bare where it will join a platform. Step 3: Cover the base and platforms with carpet or fleece, stapling it underneath so no edges lift.
Step 4: Screw each post to the base from underneath with at least two long screws, and add L-brackets on two sides. Step 5: Fix the platforms on top of the posts the same way. Step 6: Push hard on the top from every direction. If it rocks, widen or weight the base, or anchor the tree to a wall stud with a furniture strap.
DIY scratching post and wall shelves
For the simplest project, screw a 30-inch 4x4 post upright onto an 18 by 18-inch plywood base, then wrap it in sisal. That is all a scratching post needs. Cornell notes that horizontal scratchers often prefer a flat surface, so a sisal-wrapped board or corrugated cardboard laid on the floor is a good companion piece.
Wall-mounted cat shelves add climbing routes without taking floor space. Use solid wood shelves at least 10 inches deep, screwed into studs with brackets rated well above your cat's weight, covered with a non-slip surface, and spaced 12 to 18 inches apart so jumps are easy. Leave a clear landing below each shelf. If you would rather buy than build the post, browse tall cat scratching posts, such as this large scratching post.
Safety checks before your cat moves in
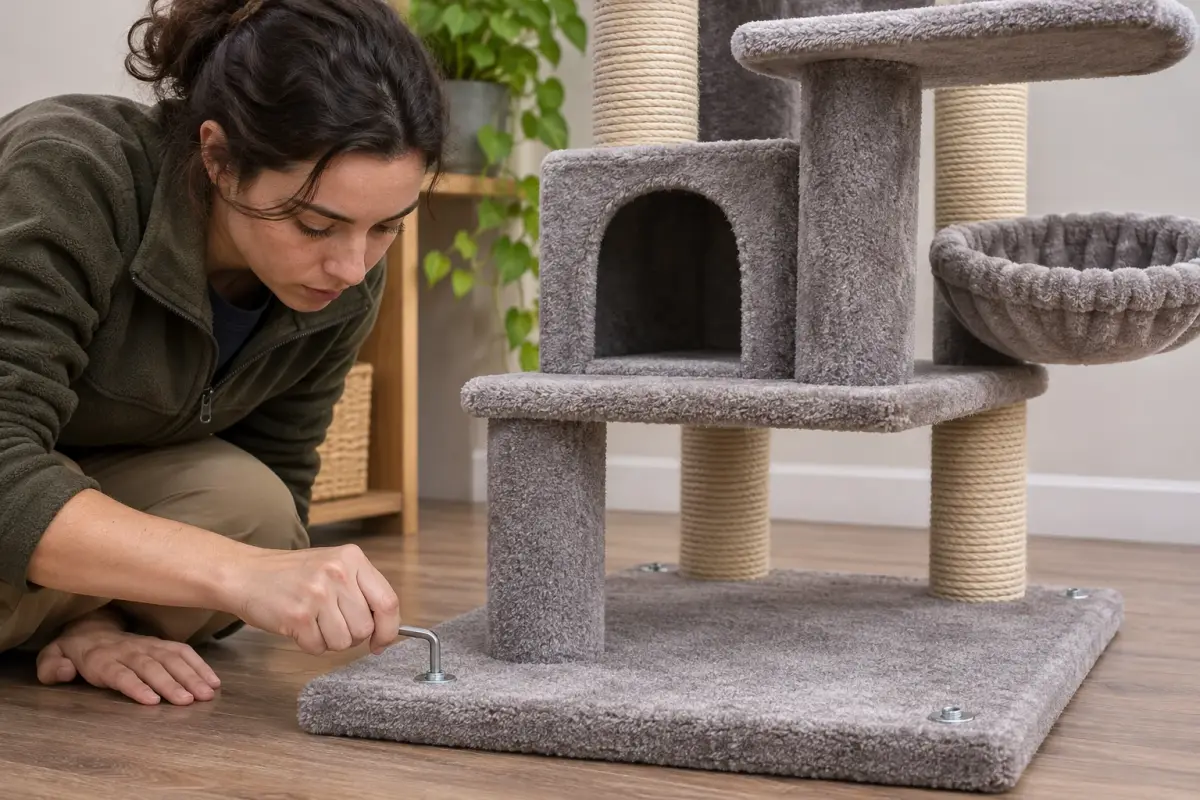
Check every screw, staple and edge. No sharp staple points should stick up, no carpet edges should lift, and no rope ends should be loose. Cornell also advises making sure there are no high spots where a distracted cat could fall and get hurt, so keep top platforms wide and avoid perches over hard edges or stairs.
Recheck the tree monthly. Tighten screws, trim loose sisal and replace worn carpet. A tree that has wobbled once may be avoided for good, so stability is the one thing never to compromise on.
Getting your cat to use it, and when to call your vet
Sprinkle a little catnip on the platforms, drag a wand toy up the posts and drop treats on the top level. VCA suggests placing trees away from the wall so a cat can jump on from several directions, and near the action rather than in a back room. Our cat tree buying guide covers what to look for if you decide to buy, and the wooden cat trees collection has ready-made options.
If your cat suddenly stops jumping onto a tree it used to love, hesitates before jumping, or seems stiff, mention it to your vet. Reluctance to jump is a common early sign of arthritis in cats.
This page is general information, not veterinary advice, and it cannot replace an examination by the vet who knows your pet.
Common questions
What wood is safe for a cat tree?
Untreated pine, plywood or other untreated softwood is commonly used. Avoid pressure-treated lumber and wood with chemical finishes. If you paint or seal it, use a non-toxic, pet-safe product and let it cure fully.
Is it cheaper to build a cat tree?
A simple post or two-level tree is often cheaper to build, especially with leftover lumber and carpet remnants. Large, multi-level designs can cost as much as buying a ready-made wooden cat tree, once you add rope and brackets.
How do I make a cat tree more stable?
Use a wide, heavy base, screw posts through the base and add brackets, keep heavy parts low, and strap tall trees to a wall stud. Test by pushing the top firmly in every direction.
Sources we checked
This guide is general information, not veterinary advice. If your pet is unwell or injured, contact your veterinarian.


